DEVLOG 10 / Gameplay
How Combat Works in Starforged Ascendant
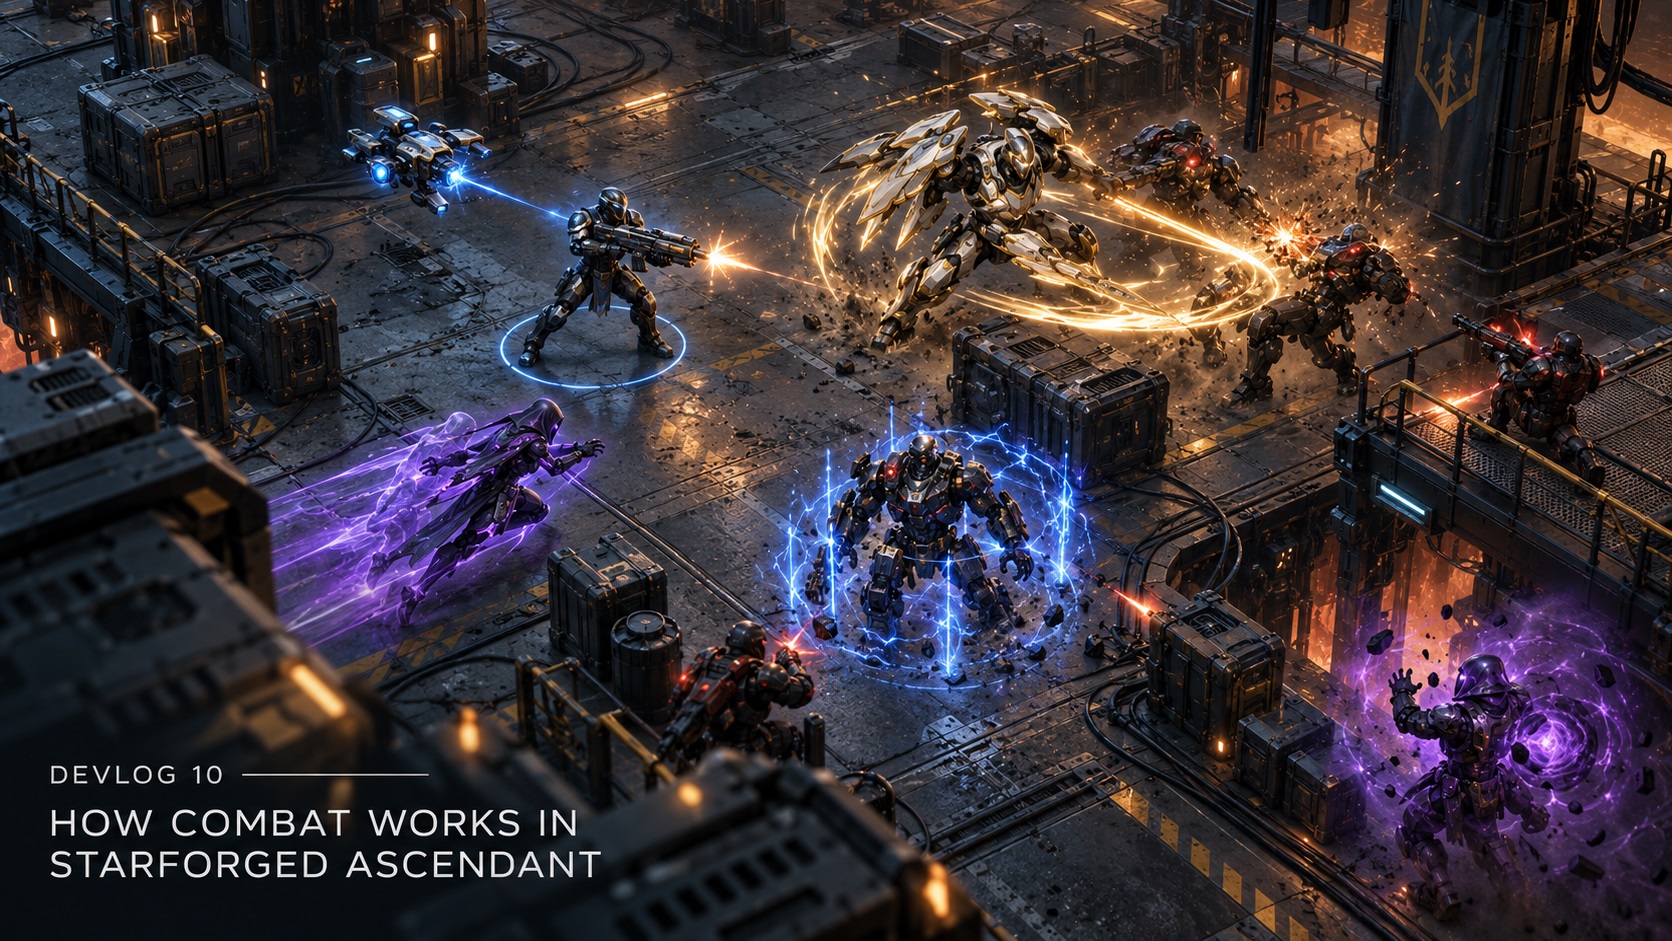
Combat in Starforged Ascendant is built around layers.
Combat in Starforged Ascendant is built around layers.
Every attack has to connect, every defence has a job, and control effects can change what both sides are able to do from one moment to the next.
A lot of the language used in the game comes directly from those mechanics.
Hit and Evasion
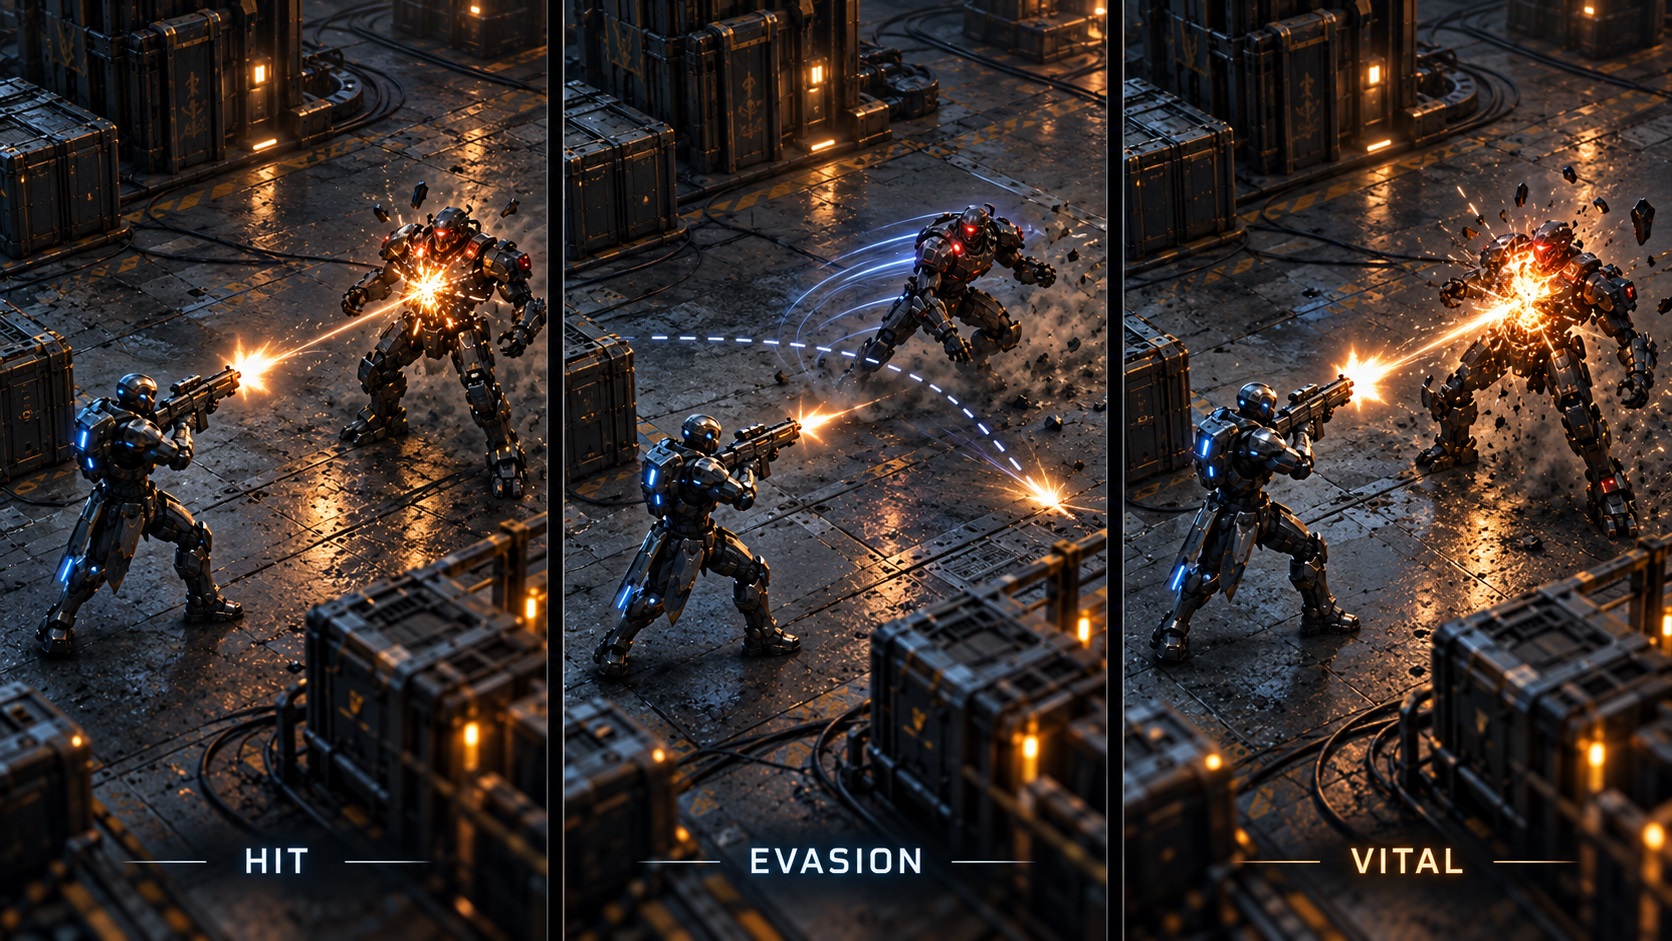
When an attack is made, the attacker first rolls Hit.
If that succeeds, the target then gets its own Evasion roll.
These are separate checks.
A Character with strong Hit can become very reliable at landing attacks. A high-Evasion target can still avoid some of those attacks after the Hit succeeds.
That makes Reflex useful from both directions because it contributes to Hit and Evasion.
Vital
A Vital is Starforged Ascendant's high-impact damage result.
It triggers after a damaging attack connects and the target fails to Evade.
Vital Chance determines how often it happens, while Cunning also increases how powerful the result becomes.
A Vital is applied once to the whole damaging contact. If a Skill delivers several different Damage Types in the same hit, they share the same Vital result.
That makes Vital especially interesting on attacks that already carry several damage components or strong delivery mechanics.
Damage Types and defence
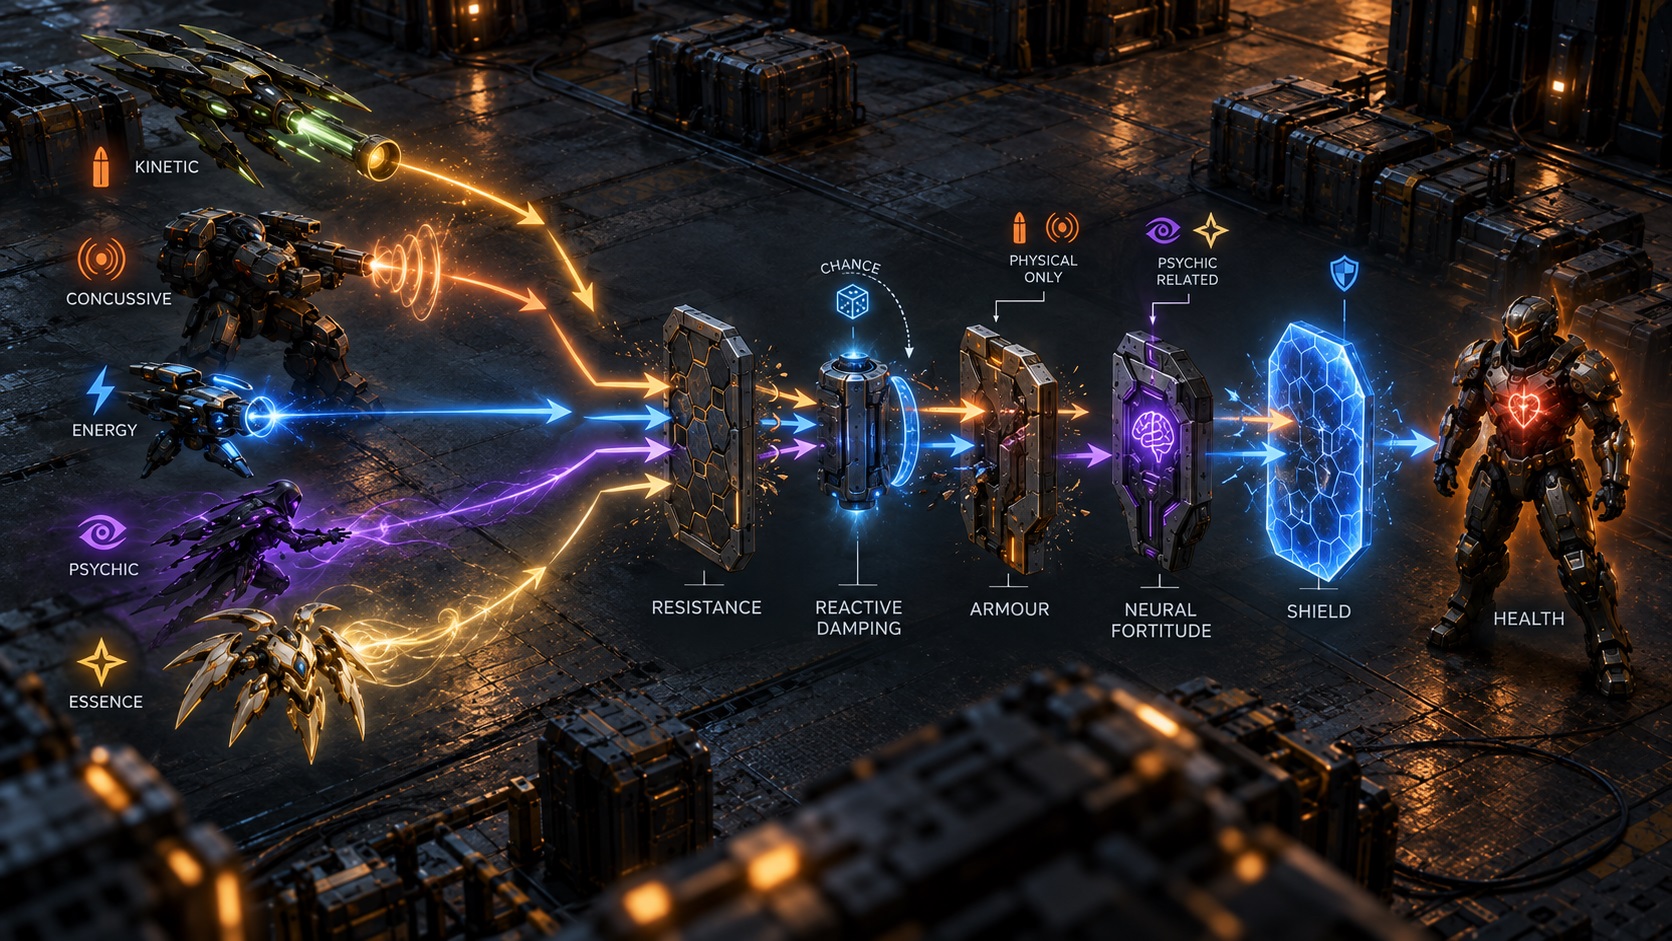
There are five Damage Types:
Kinetic, Concussive, Energy, Psychic and Essence.
Each has its own matching Resistance.
Once damage reaches the defender, several defensive layers can reduce it.
Resistance handles the matching Damage Type, up to a maximum of 80%.
Reactive Damping gives the defender an independent chance to reduce Hit damage by 50%.
Armour reduces Kinetic, Concussive and Energy damage, by up to 90%.
Neural Fortitude, derived from Focus, provides a final general layer of mitigation, up to a maximum of 50% damage reduction.
The remaining damage is then absorbed by Shield before any leftover amount reaches Health.
This creates several ways to build defence.
A Character can invest heavily in Armour, build strong Shield capacity through Intelligence, improve typed Resistances, develop Reactive Damping, or use Focus to strengthen Neural Fortitude.
The strongest builds usually combine several of these layers. Different encounters will require various layers of mitigation.
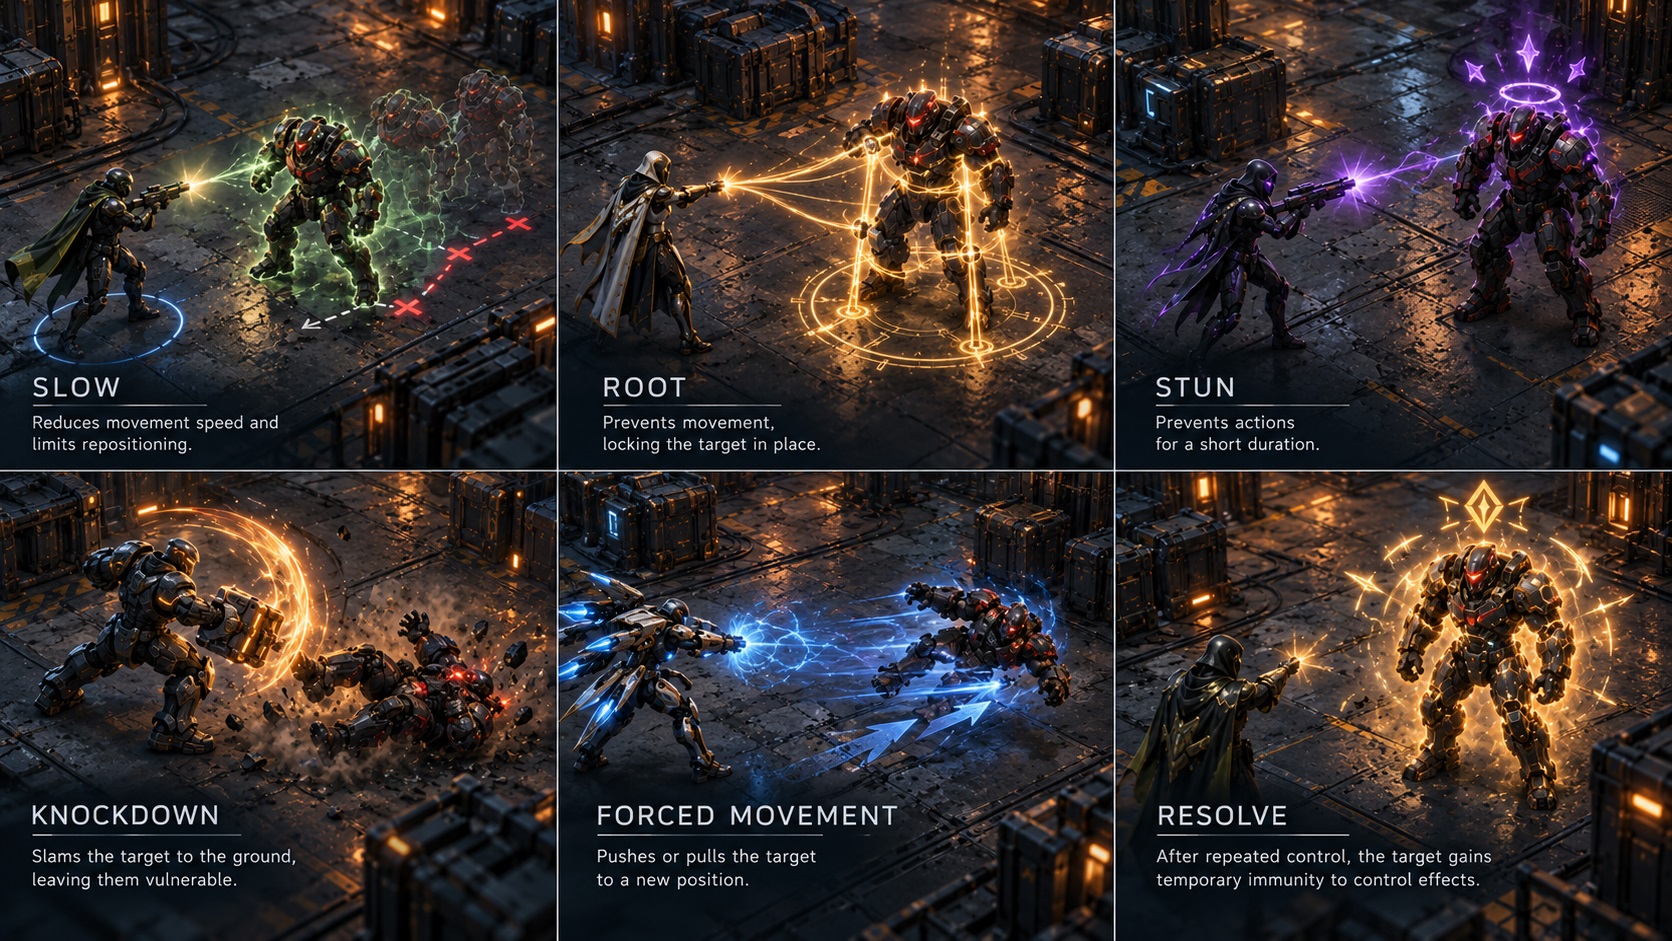
Control and Resolve
Combat also includes Slow, Root, Stun, Knockdown and forced movement.
- Root stops movement.
- Slow reduces movement.
- Knockdown throws a target out of position.
- Stun is especially dangerous because it blocks movement, attacks and new Skill activations while it lasts.
Repeated control affects build Resolve. Characters, Drones, Rare enemies and Bosses have sufficent Resolve to reach the characters threshold, the triggering control finishes normally and a short control immunity window.
That gives control builds plenty of impact while preventing the same target from being locked down forever. Conversely, pushing the resolve bar on a boss with a particularly deadly activation could very easily result in a wipe.
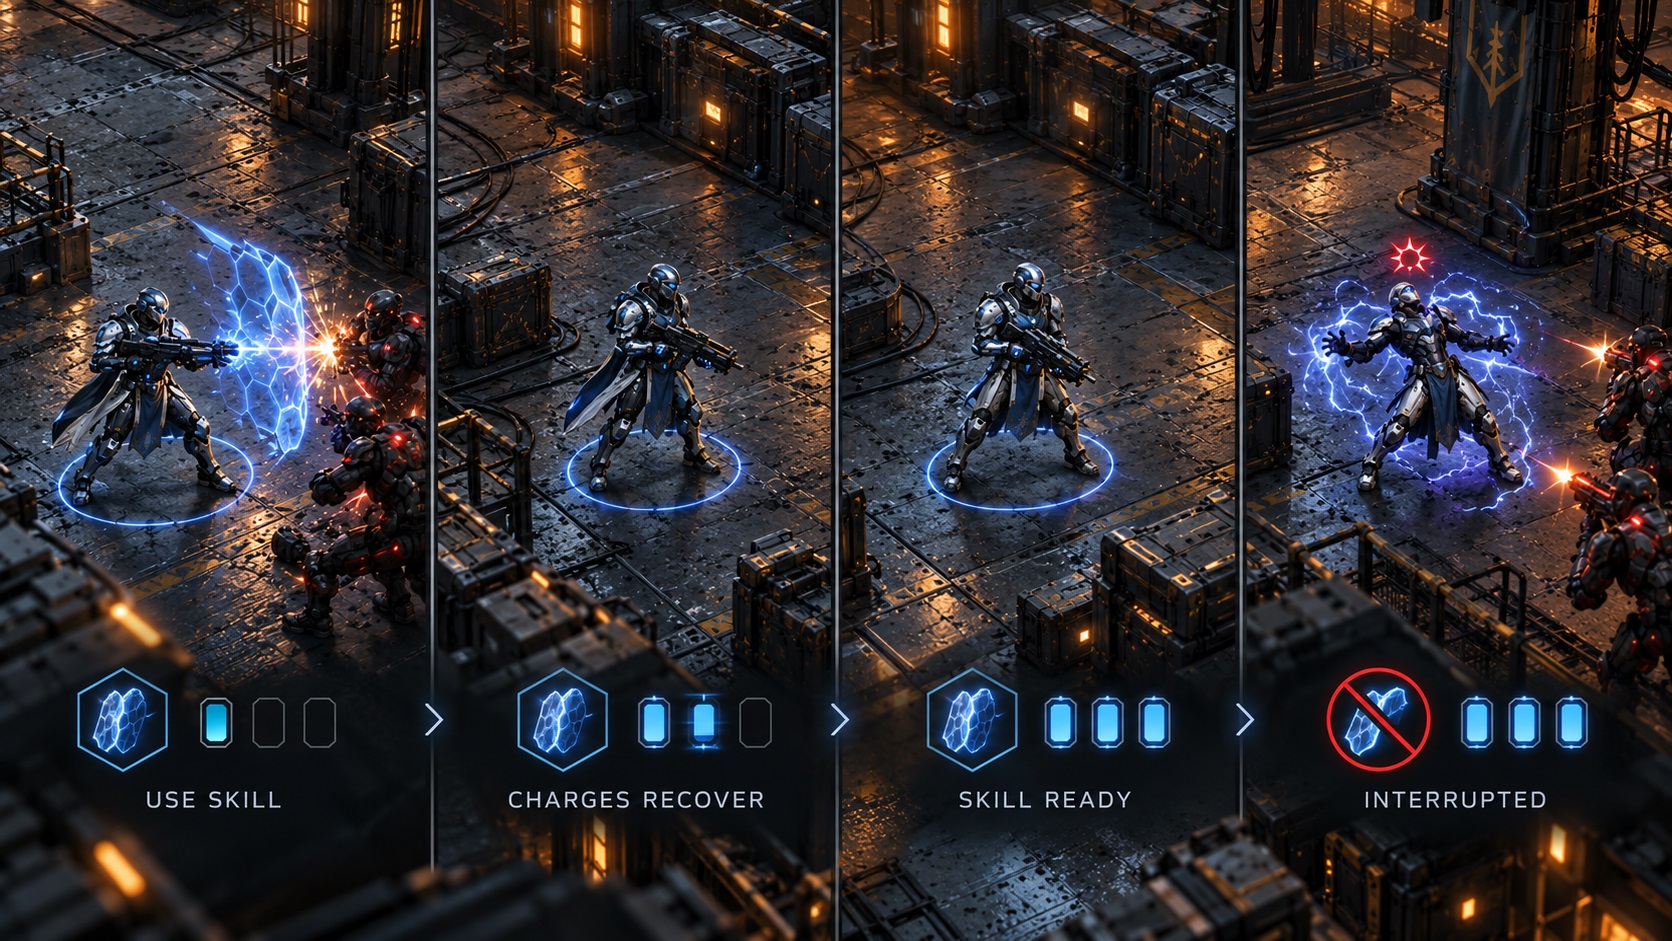
Skills and charges
Most active Skills work through charges. Using a Skill spends a charge, and charges recover over time. Stamina can shorten that recovery and help a build cycle through Skills faster. The result is a combat system built around timing, positioning and knowing which tools are available.
Sometimes the answer is damage, sometimes it's movement (Its almost always movement! skills aren't interrupted by movement).
Sometimes it is a Stun, a gravity pull, a defensive Skill or simply surviving long enough for the next charge to come back.